Creating code signing files
How to code sign iOS apps
Creating code signing files
You can have Xcode manage your signing files automatically by enabling its automatic signing feature. This is a good option if you’re developing locally. However, as soon as you need to set up the build on a remote machine, such as the CI server, you may have to switch to manual code signing in Xcode and manage provisioning profiles and signing certificates yourself.
Creating code signing certificates using Xcode
Instructions in this guide are based on Xcode 12. If you’re using an earlier version of Xcode, the steps may vary slightly.
- Open Xcode and navigate to Xcode > Preferences… > Accounts, and if you don’t already have an account set up with Xcode, click the add (+) button to add a new account.
- Select Apple ID as the account type and click Continue.

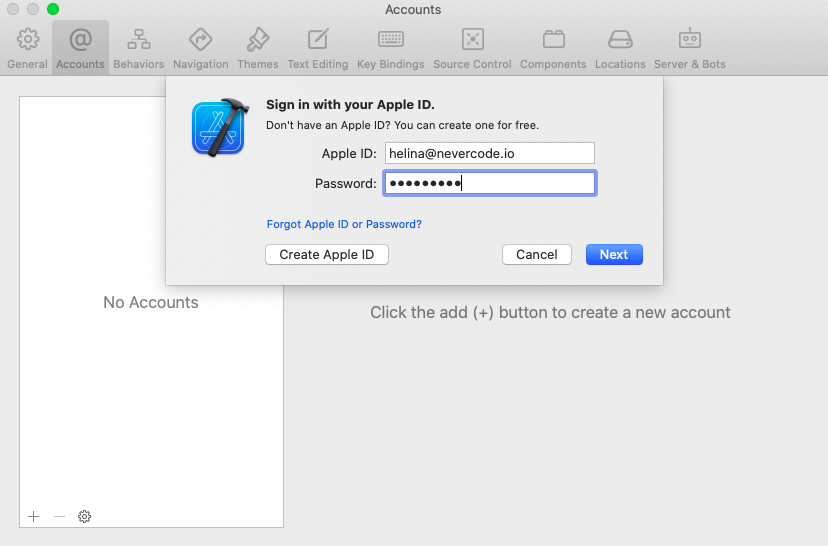
- You will be prompted to sign in with your Apple ID. Fill in your Apple ID and password and click Next.
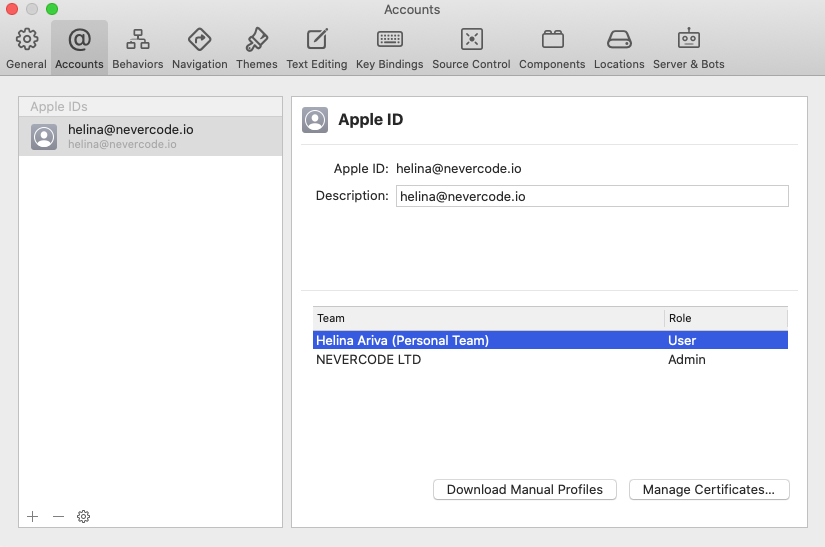
If your account has two-step authentication or two-step verification enabled, you will be asked to verify your identity. Once you do that, you’ll see your account listed.
- Select your personal or team account and then click Manage Certificates…
- You’ll see the list of existing certificates you have available. Click the + button on the dialog to add a new certificate.

Once the certificate is created, you can also see it added to keychain. Your team certificates will also appear in the Certificates, Identifiers & Profiles section of your team account in Apple Developer Portal.
Creating provisioning profiles
If you use Xcode’s automatic signing feature, Xcode manages development provisioning profiles for you.
Before you can create a provisioning profile in Apple Developer Portal, go through this checklist of requirements.
Requirements:
- You have to be Account Holder or Admin to be able to create provisioning profiles.
- You need to have one or more certificates available in Apple Developer portal.
- You need to have registered an App ID in Apple Developer portal.
- You should have registered devices available in Apple Developer portal.
- Log in to Apple Developer portal, and in Certificates, Identifiers & Profiles, select Profiles from the left menu.
- Click on the + button at the top of the page to add a new profile.
- Select the type of the certificate to create and click Continue.
- Select the App ID you want to use and click Continue.
- Make sure the App ID matches your bundle ID.
- Note that in order to create an App Store provisioning profile, you need to use an explicit App ID.
- Select the certificate(s) to be included in the profile.
- If it’s a development provisioning profile, you can select multiple development certificates. Everyone using those certificates would be able to build the app with that profile.
- If you’re creating an Ad Hoc or App Store provisioning profile, select a single distribution certificate to be included in the profile.
- In the case of Development and Ad Hoc profiles, select the device(s) to be included in the profile. (This step is skipped for App Store profiles.)
- Provide a profile name and click Generate.
- Finally, click Download.